
Earlier this past spring we happened upon this triangle display shelf via Instagram from Moorea Seal in Seattle and were inspired that it was handmade. Ashley Miller (who works there) created it as a display shelf for the shop and so we asked these two ladies if they would be interested in sharing how it was made as a DIY for Poppytalk.The result is a stunning shelf perfect for not only retail, but at home too. We thought we'd bring it back for #throwbackthursday! Check it out below
DIY Triangle Display Shelf
The inspiration for the Triangle Display Shelf was to create shelving that was useful and stylish that could also create height in the shallow shop widow spaces. The triangle shelf does a great job at creatively displaying store product without blocking light from the outdoors. The
removable bolts keep it safely attached they are a great feature allowing for repositioning and stacking. Once your triangle shelf is built you can customize it by painting, sanding, staining, or burning the surface for a variety of beautiful looks.
Shopping List:
• 9, 1”x 6”x 72” pine boards (1 board per triangle I recommend buying a few extra)
• 54 (6 per triangle) 1-5/8” wood screws
• 1/4” flat washers
• 1/4” -20 hex nuts
• 1/4” -20 x 2 carriage bolts
Instructions:
1. First cut at the end a 33 1/3 degree angle
2. Then turn the board over, slide it down to 21”
3. On the long side cut 33 1/3 degree angle again
4. Repeat until board is cut into 3 pieces, cut all boards
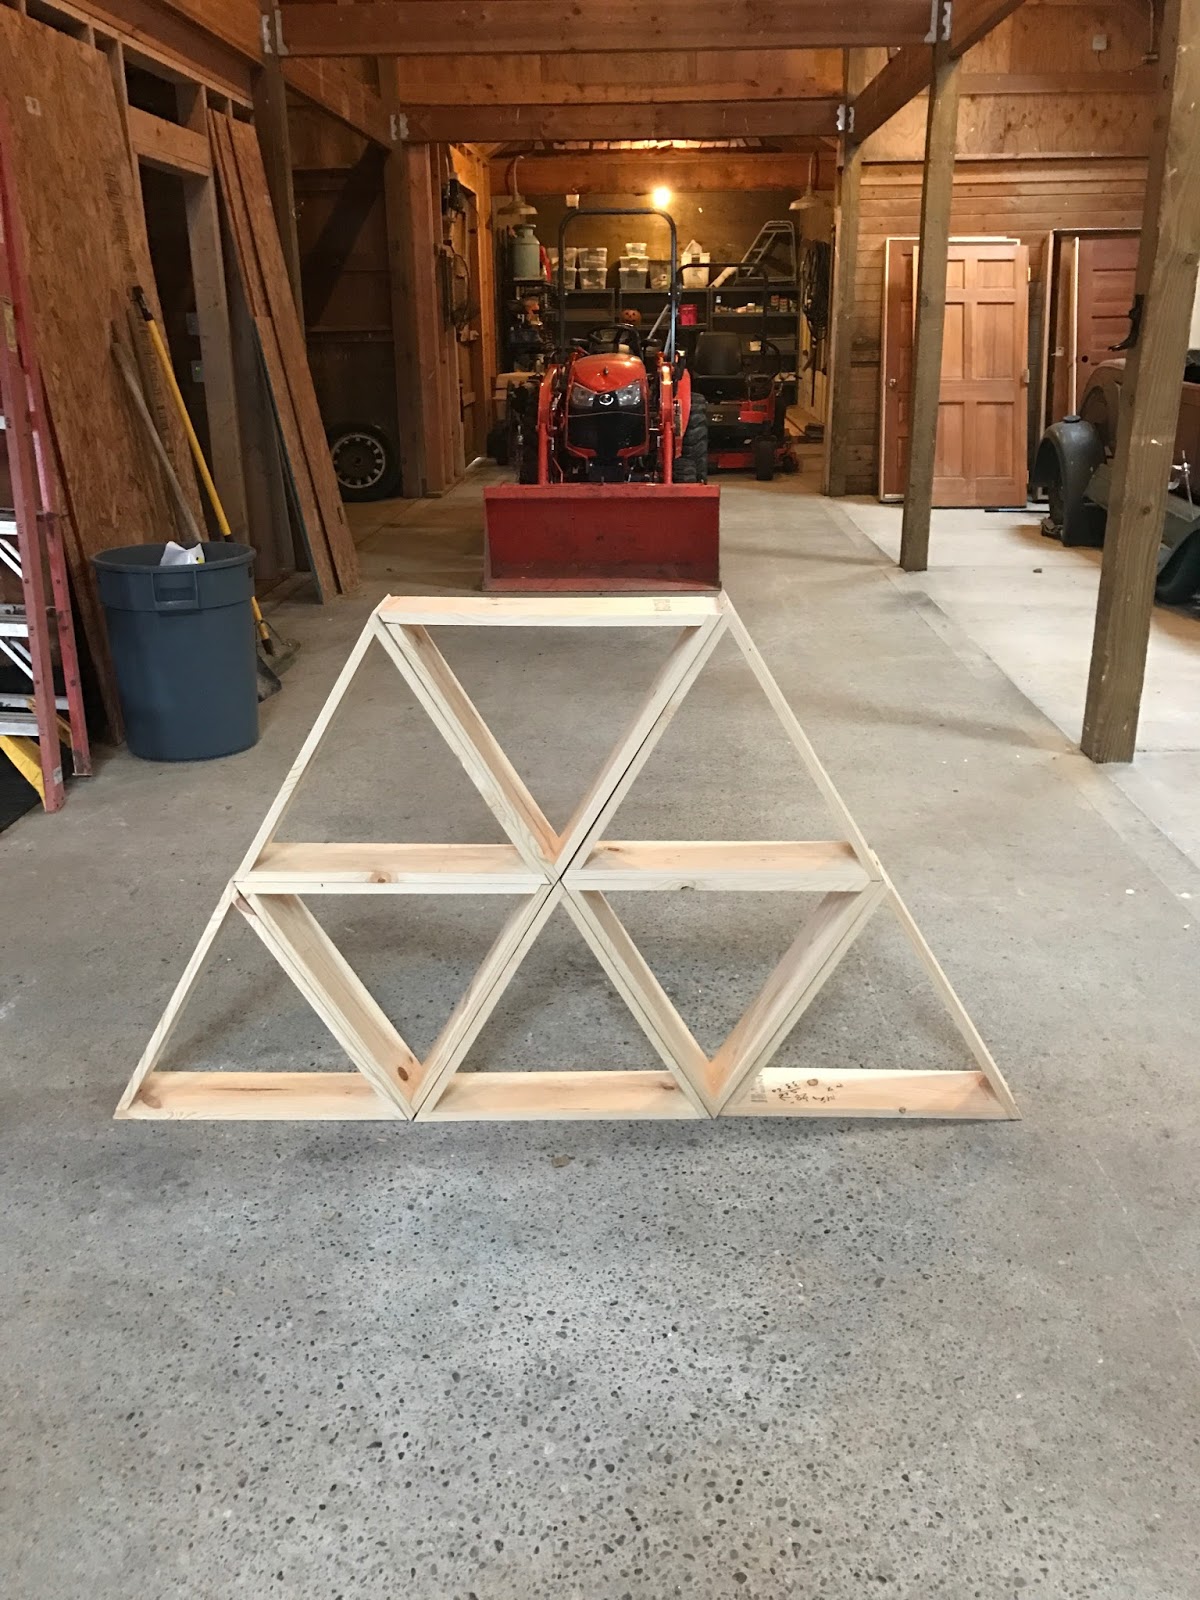
5. Fit pieces together (see image below)

6. Screw in 2 wood screws per corner, until all 9 triangles are assembled (see image below)

7. Stack bottom row 3 triangles right side up, 2 upside down (see image below)

8. Drill holes with 1/4” drill bit dead center through the triangles to connect them.
a. Not on the outside wall or on the bottom only where the triangles connect, to
hold them in place so they do not fall over when stacked.
9. Install 1/4” bolts, nuts, and washers

10. Stack 2 triangles right side up and 1 upside down in center, on top of the bottom 5
triangles. (see image below)
11. Repeat step 8. (But do drill through the bottom connecting triangles)
12. Stack final triangle on top, drill hole in the bottom and bolt.


Thank you ladies! We love it! Be sure to visit them both online or in store:
Moorea Seal
Founder: Moorea seal ;)
Where: 2523 3rd Ave, Seattle, WA
Open 7 days a week
Instagram: @mooreaseal
Pinterest @mooreaseal
Twitter: @mooreaseal
Ashley Miller
Etsy Shop: https://www.etsy.com/shop/CharcoalandAsh
Instagram: @charcoalandashpnw
Facebook: https://www.facebook.com/charcoalandash/
Pinterest @mooreaseal
Twitter: @mooreaseal
Ashley Miller
Etsy Shop: https://www.etsy.com/shop/CharcoalandAsh
Instagram: @charcoalandashpnw
Facebook: https://www.facebook.com/charcoalandash/
Comments