
(This post is sponsored by Dyson Canada and the DysonV6 Absolute , a powerful cordless vacuum cleaner that tackles large debris to fine dust, carpets to hard floors. We've been a fan of Dyson for years and love that they've come out with this powerful cordless version. Thank you for supporting the brands that support Poppytalk.)
Here's how we made it:

For the Cake
2 white cake mixes or feel free to make your own from scratch!
Raspberry Jam and Buttercream icing for filling in between layers
Follow the directions to make the cake mix (or make your own from scratch), then divide the cake into six even parts. Pour each batter into their own individual pans. We used our small 6" round pans. Bake for 30 minutes or until a toothpick comes clean when tested. Set aside to cool. Note: If you use a cake recipe, check out what it yeilds, as you may need to double the recipe to make 6 layers.
For the Buttercream Frosting
1 cup butter
1/4 cup milk
2 cups of icing sugar
2-6 drops of red food coloring
Sprinkles (optional)
Beat egg on high speed until the butter is very pale in colour. Slowly add the icing sugar, then milk and vanilla. Beat for at least ten minutes until light and fluffy. Add food colouring 2 drops to make a light pink colour, then add a few drops stirring slightly to create a more marbled looking frosting.
Raspberry Glaze
1 1/2 cups icing sugar
1/4 cup raspberries
1/3 cup heavy cream
Combine the icing sugar, raspberries and heavy cream in a blender and blend until a pink raspberry glaze forms. If it's too thick, add more heavy cream, a teaspoon at a time, until it's the consistency you like. Place your glaze in a bowl for dipping your donuts. (From this recipe by Coco Cake Land).
Topping
3-4 gigantic round lollipops that look like bubbles
2-3 round bubblegums
2-3 raspberries
Sprinkles
To start:
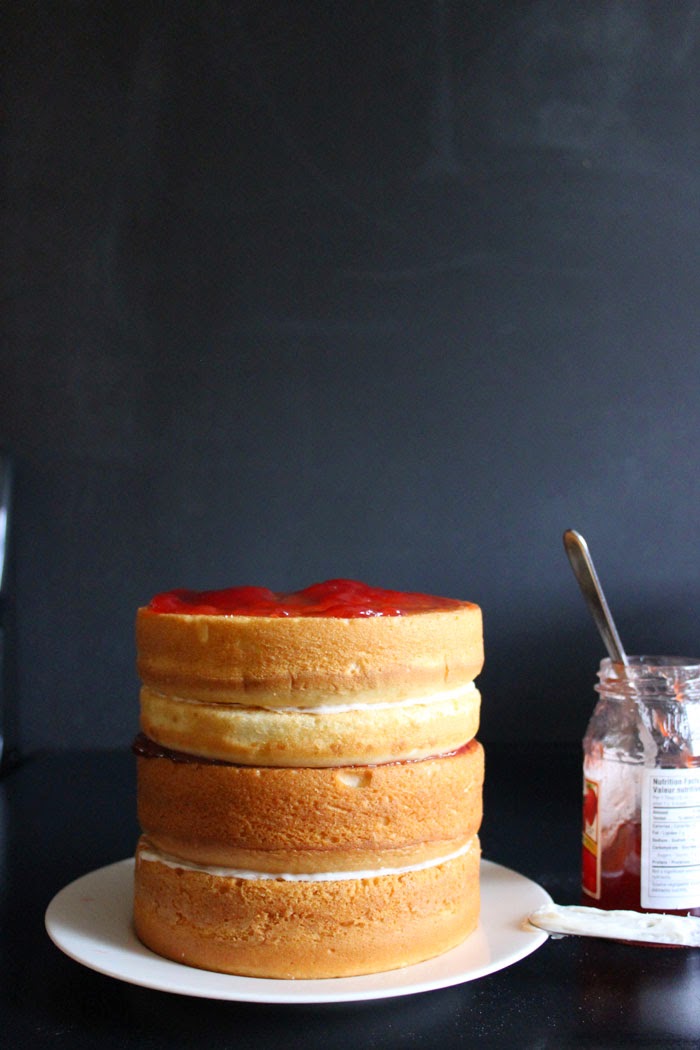
Once the layers are cooled, you can start to build the cake. We alternated icing and raspberry jam between the layers (one layer icing, then one layer of jam, and so on). This also helps to keep the layers to stick together as they get stacked.
To ice:
Begin to ice the outside of the cake with the buttercream icing. It works best to ice a base coat first, then ice again with a second coat of icing. To create streaks through the icing (to look like marbling), add a drop or two of the food coloring to your icing knife (with just a bit of icing on it), then dab and slide the icing sideways in different sections of the cake. You'll need a very tall icing knife to get this length of cake iced smoothly. To help to get the icing to look smooth, rinse the icing knife with warm water, then slide it around the cake for each finishing stroke, this should do the job. This process usually takes a while to get just right. Then add the sprinkles. Pour the sprinkles into your hand, then gently dab the bottom section of the cake to stick them to the icing, going around and around until you have completely sprinkled the bottom edge. You can go as high as you like. Lots of sprinkles will be lost on the floor, so expect a bit of a mess. Cool the cake in the fridge to harden the icing a bit is a good idea at this point.

To glaze:
Pour the glaze onto the top of the cake, pushing it over the edge ever-so-slightly in 3 or 4 spots along the side of the cake so you create the look of it dripping (like it's melting). You can now add sprinkles to the top if desired.
To top:
Insert the lollipop sticks into the cake pressing all the way till the lollipop sits on top of the cake. Try to create different levels so the lollipops will not go all the way down but will sit atop the ones that are actually sitting on the icing. Place in a assymetrical way, curving them in a crescent design. But of course you could place them in the center if you like, or buy a whole bunch and just cover the entire cake!


To clean:
Have you ever tried to clean up sprinkles? Not so easy! After spilling about a bazillion sprinkles on the floor (and traipsing them everywhere), we pulled out our new Dyson V6 Absolute to do the job. It was such a breeze to wrangle in all the strays. If you haven't heard about this brilliant little machine yet, it's a cordless vacuum with two Dyson-engineered cleaner heads that was invented for hard and carpeted floors. Both the soft roller and carpet heads removes large debris and fine dust simultaneously. It also comes with heaps of inter-changeable attachments to get into all types of tight spots. We love the idea of pulling it out to clean a little spill, scoop up stray sprinkles, or take it out to the car to give it a quick clean. We also like the HEPA filter and unique docking mechanism (great for small spaces). Super-easy to clean too, just empty the container (with the flick of a switch) when full! This compact cleaner holds a powerful punch, and cleans ten times better than are our large vacuum (seriously)! We highly recommend it! Visit Dyson for more info.


Comments
xx Síle@anyidlesunday