Once again we are happy to host the talented Mitsy from Artmind this friday as she takes us through making these cute little wax decorations, (a fun little weekend project with the kids for Valentines). And you'll notice at the bottom of this post Mitsy is giving away some she made on her blog later today! Thanks Mitsy! (Also stay tuned as we post the winners of The Poppies later today)!
Here is what you need:
wax (you can use candles and melt them), metal cookie lid, cookie cutters, newspaper, nylon thread, ribbon, wooden sticks, needle, plier, crimp beads, beads & findings.

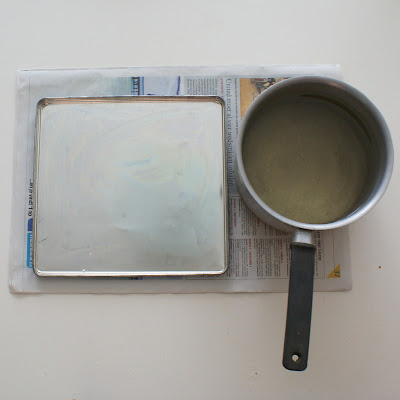
Make sure that you work safe when working with hot wax. Cover the area that you are working on with newspaper. Put the cookie lid on top of it & heat the wax.

Fill the metal cookie lid with wax.

Let the wax set for a while until it is stiff but still feels warm. That allows you to press cookie cutters into it without the wax cracking. You have to work quick now as the wax cools down fast. Press as many cutters as possible in the lid.

You can then remove the wax around the cutted shapes.

When you push lightly, the shape will come loose.

If it's still warm, you can easily put a needle through the wax figure. Or you can heat the needle in the flame of a candle.

Or put the wooden stick in the cut out wax figure but only halfway.

Or you can push a hole from front to back.

All the left over wax can go back into the pan and you can re-heat it again if you need more figures.

Then the figures are ready to make decorations from. Add a little ribbon to the wax decorations. They will look super in flower pots.


Or make some ornaments to hang in a branch or on a gift. Cut a piece of metal wire.

Fold it double and place a ribbon in between.

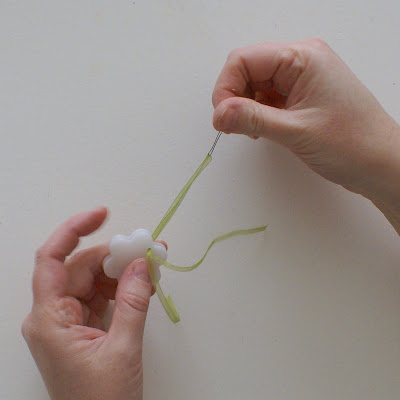
Then pull it through the hole you made in the wax decoration.

Pull the double pieces of ribbon through the loop and make a knot at the end.
 Tada! :)
Or make a nice garland with beads and findings. First make a loop and close it with a crimpbead.

Press the crimpbead with the plier.

Then start threading beads & findings according to your taste and add the wax decorations in between.

End the vertical garland again with a crimpbead.

Here is another garland with the flowers. First add a loop and then knots, wooden beads and wax flowers.

Here are the results:


 (Poufiks by evaforeva on Etsy)
I'll be giving these wax decorations away in my blog. So hop over there & leave a comment in the post. And perhaps check out some other tutorials I have featured there.
www.artmind-etcetera.blogspot.com
www.etsy.com/shop/artmind


9 comments:
I love the garland. Great blog! this is my first visit here and will definitely won't be the last.
Oh!! good tutorial!! Thanks.
Greetings.
Great tutorial! Thank you!!
Mitsy's tutorials never cease to amaze me - she is a clever cookie that one! ;)* ♥
Mitsy has so many ideas, she never stops amazing me. This is so clever and can be used for other holidays as well. Great!
What a fun project!!! so cute!
I left something for you on one of my blogs :)
http://la-di-da-blog.blogspot.com/
wat a fun tutorial, very easy and beautiful result!
These are so cute! I love all the fun shapes and uses for these! Thanks so much, I'll be linking.
Oh so gorgeous, thank you!
Post a Comment